

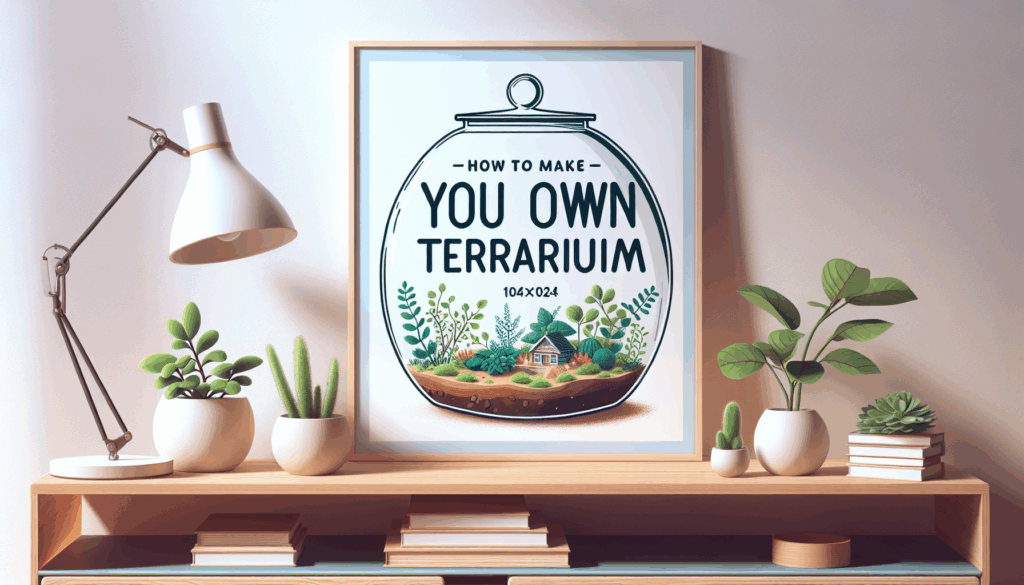
Creating a terrarium is a delightful way to bring a little bit of nature indoors. These miniature gardens can thrive in glass containers and are not only beautiful to look at but also relatively easy to maintain. Whether you’re a seasoned gardener or just starting out, making your own terrarium can be a fun and rewarding project. In this blog, we’ll guide you through the steps of creating your very own terrarium.
What is a Terrarium?
A terrarium is essentially a small, enclosed environment that houses plants. It can be open or closed, depending on the types of plants you choose and the level of humidity you want to maintain. Terrariums can range from simple designs with a few succulents to elaborate ecosystems with various plants and decorations.
Why Make a Terrarium?
1. Low Maintenance: Terrariums are self-sustaining ecosystems, which means they require minimal care once established.
2. Creative Expression: Designing a terrarium allows for artistic expression, as you can choose the plants, container, and decorations to match your style.
3. Space-Saving: Terrariums are perfect for those with limited space, as they can fit on shelves, desks, or countertops.
4. Air Purification: Plants in terrariums can help purify the air in your home, improving your indoor environment.
Materials You Will Need
Before you start, gather the following materials:
– Container: Glass jars, bowls, or aquariums work well for terrariums. Ensure it has an opening to allow air circulation.
– Small stones or pebbles: For drainage.
– Activated charcoal: To prevent mold and odors.
– Potting soil: Choose soil that matches the type of plants you’ll be using.
– Plants: Select small plants suitable for terrariums, such as succulents, ferns, or moss.
– Decorative elements: This could include figurines, stones, or other items to personalize your terrarium.
– Tools: Tweezers, small trowel, or even chopsticks can be helpful for arranging plants.
Step-by-Step Guide to Creating Your Terrarium
Step 1: Choose Your Container
Select a glass container that fits your style and the space you have available. If using a closed terrarium, ensure it has a lid to maintain humidity. Open terrariums are better for plants that prefer drier conditions.
Step 2: Create the Drainage Layer
Start by placing a layer of small stones or pebbles at the bottom of the container. This layer will help with drainage and prevent water from accumulating at the roots. A thickness of about an inch is usually sufficient.
Step 3: Add Activated Charcoal
Next, sprinkle a thin layer of activated charcoal over the stones. This will help to keep the environment fresh and prevent odors. It’s especially important in closed terrariums where air circulation is limited.
Step 4: Add Potting Soil
Now it’s time to add the potting soil. Depending on the size of your container, add enough soil to give your plants room to grow. A depth of 2-4 inches is typically ideal. Use your fingers or a small trowel to smooth it out.
Step 5: Plant Selection and Arrangement
Select your plants based on the size of your container and the light conditions of the area where your terrarium will be placed. Arrange the plants in the soil, starting with the largest in the back and smaller ones in the front to create depth. Use tweezers or chopsticks to help position the plants without damaging them.
Step 6: Add Decorative Elements
Once your plants are arranged, it’s time to add some personality to your terrarium. Place decorative stones, small figurines, or even driftwood among the plants to create interest. Be creative, but make sure not to overcrowd the space.
Step 7: Water Your Terrarium
After planting, give your terrarium a light watering. Be cautious not to overwater, especially if you’re using a closed container. Check the moisture level in the soil regularly to avoid root rot.
Step 8: Place Your Terrarium
Choose a suitable location for your terrarium. Most plants prefer indirect sunlight, so avoid placing it in direct sunlight, which can scorch the plants. A spot with bright, filtered light is ideal.
Maintenance Tips
– Watering: Monitor the moisture levels in your terrarium. If the soil feels dry, add a small amount of water. For closed terrariums, you may not need to water as often.
– Light: Ensure your terrarium receives adequate light without direct sun exposure.
– Pruning: As your plants grow, you may need to trim them back to prevent overcrowding and maintain the appearance of your terrarium.
– Cleaning: Occasionally wipe down the inside of the glass container to keep it clear and visually appealing.
Troubleshooting Common Issues
– Mold Growth: If you notice mold, it could be a sign of too much moisture. Allow the terrarium to dry out a bit before watering again.
– Wilting Plants: This may be due to insufficient light or overwatering. Adjust the light conditions or reduce the watering frequency.
– Pests: If pests appear, remove affected plants and consider using organic pest control methods.
Conclusion
Making your own terrarium is a fulfilling and creative activity that can brighten up your living space. With just a few materials and some basic steps, you can create a miniature garden that brings the beauty of nature indoors. So gather your supplies, unleash your creativity, and enjoy the process of crafting your very own terrarium! Happy gardening!
AI-Assisted Content Disclaimer
This article was created with AI assistance and reviewed by a human for accuracy and clarity.


Leave a Reply